Mixing render the right way makes a big difference in how your wall finish holds up over time. Too dry, and it cracks. Too wet, and it won’t stick well. Whether you’re patching a small area or covering a full wall, getting the mix right is key to making it last. This guide breaks down how to mix render properly so you can avoid common mistakes and get strong, even results. With the right tools, ratios, and steps, you’ll save time now and avoid repairs later. Follow this process to get a solid finish that stands up to weather and wear.
Choose The Right Materials For Your Render Mix
Start with clean, sharp sand. This type of sand gives better grip and holds the mix together. Avoid fine or dusty sand, as it can weaken the bond. Always check that the sand is free from clay or organic matter. These impurities reduce strength over time.
Use fresh cement from a sealed bag. Old or damp cement leads to poor results. Cement acts as the binding agent in your render mix, so its quality directly affects durability. Grey Portland cement is commonly used and works well for most external walls.
Lime may be needed depending on your wall type and climate. Lime helps improve flexibility and reduces cracking. It also allows moisture to escape, which adds protection against damp problems inside walls. If you choose to include lime, use hydrated lime rather than quicklime for safety reasons.
The ratio of materials matters just as much as their type. A common mix ratio is 5 parts sand to 1 part cement and 1 part lime (if used). Too much cement makes the render brittle; too little weakens adhesion.
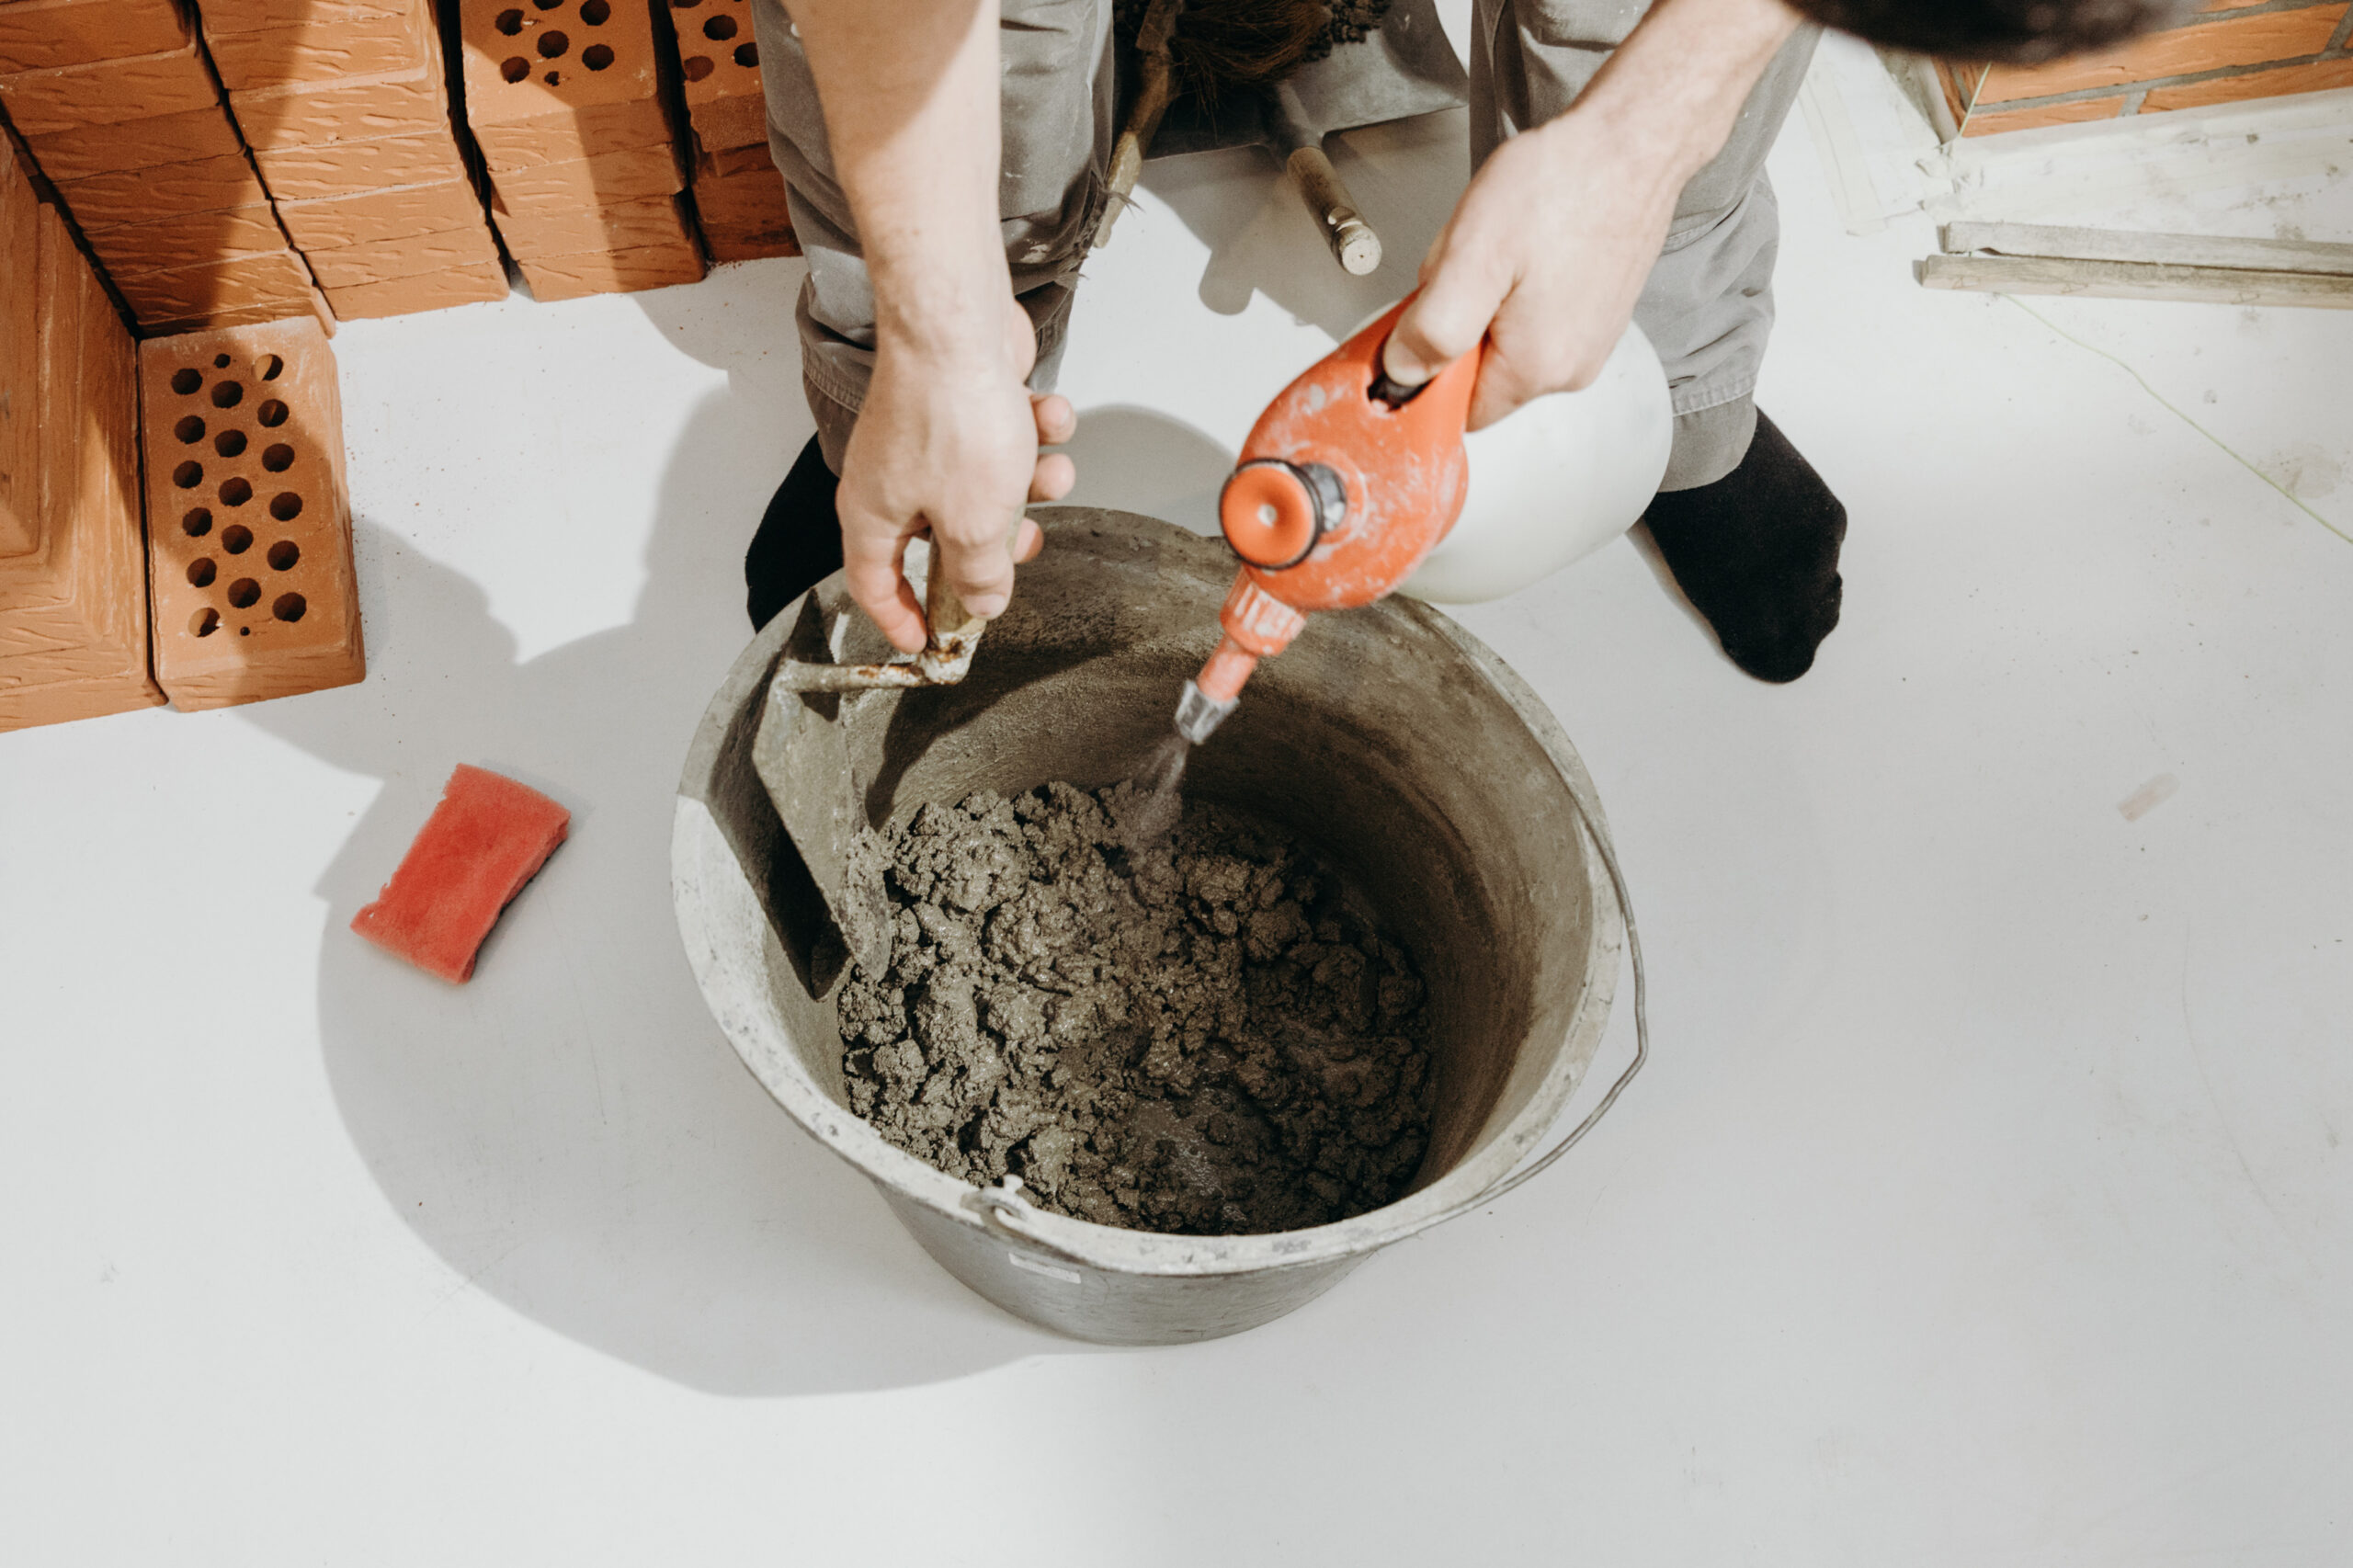
Water should be added gradually while mixing until a smooth yet firm consistency forms. Do not add excess water, this causes shrinkage when drying.
Understanding How To mix render properly begins with selecting what goes into it. Each component plays a specific role in making sure your finish stays intact through seasons and wear.
Before starting any job, always measure your materials carefully using buckets or scales if possible. This ensures uniformity across batches and prevents weak spots on rendered surfaces.
Different projects may need different blends based on exposure levels or base wall material, so adjust accordingly after testing a small area first before full application begins.
How To Mix Render Properly For Maximum Strength
Start by measuring your dry components. Use clean sand and fresh cement. Stick to the correct ratio, usually four parts sand to one part cement, but check your project’s needs. Add lime only if required, following the specified amount.
Place all dry materials in a mixing container or wheelbarrow. Blend them until the color looks even throughout. This step matters because uneven distribution weakens the final result.
Once mixed dry, slowly pour in water while stirring. Do not add too much at once. Add small amounts and mix well before adding more. Keep checking the texture as you go.
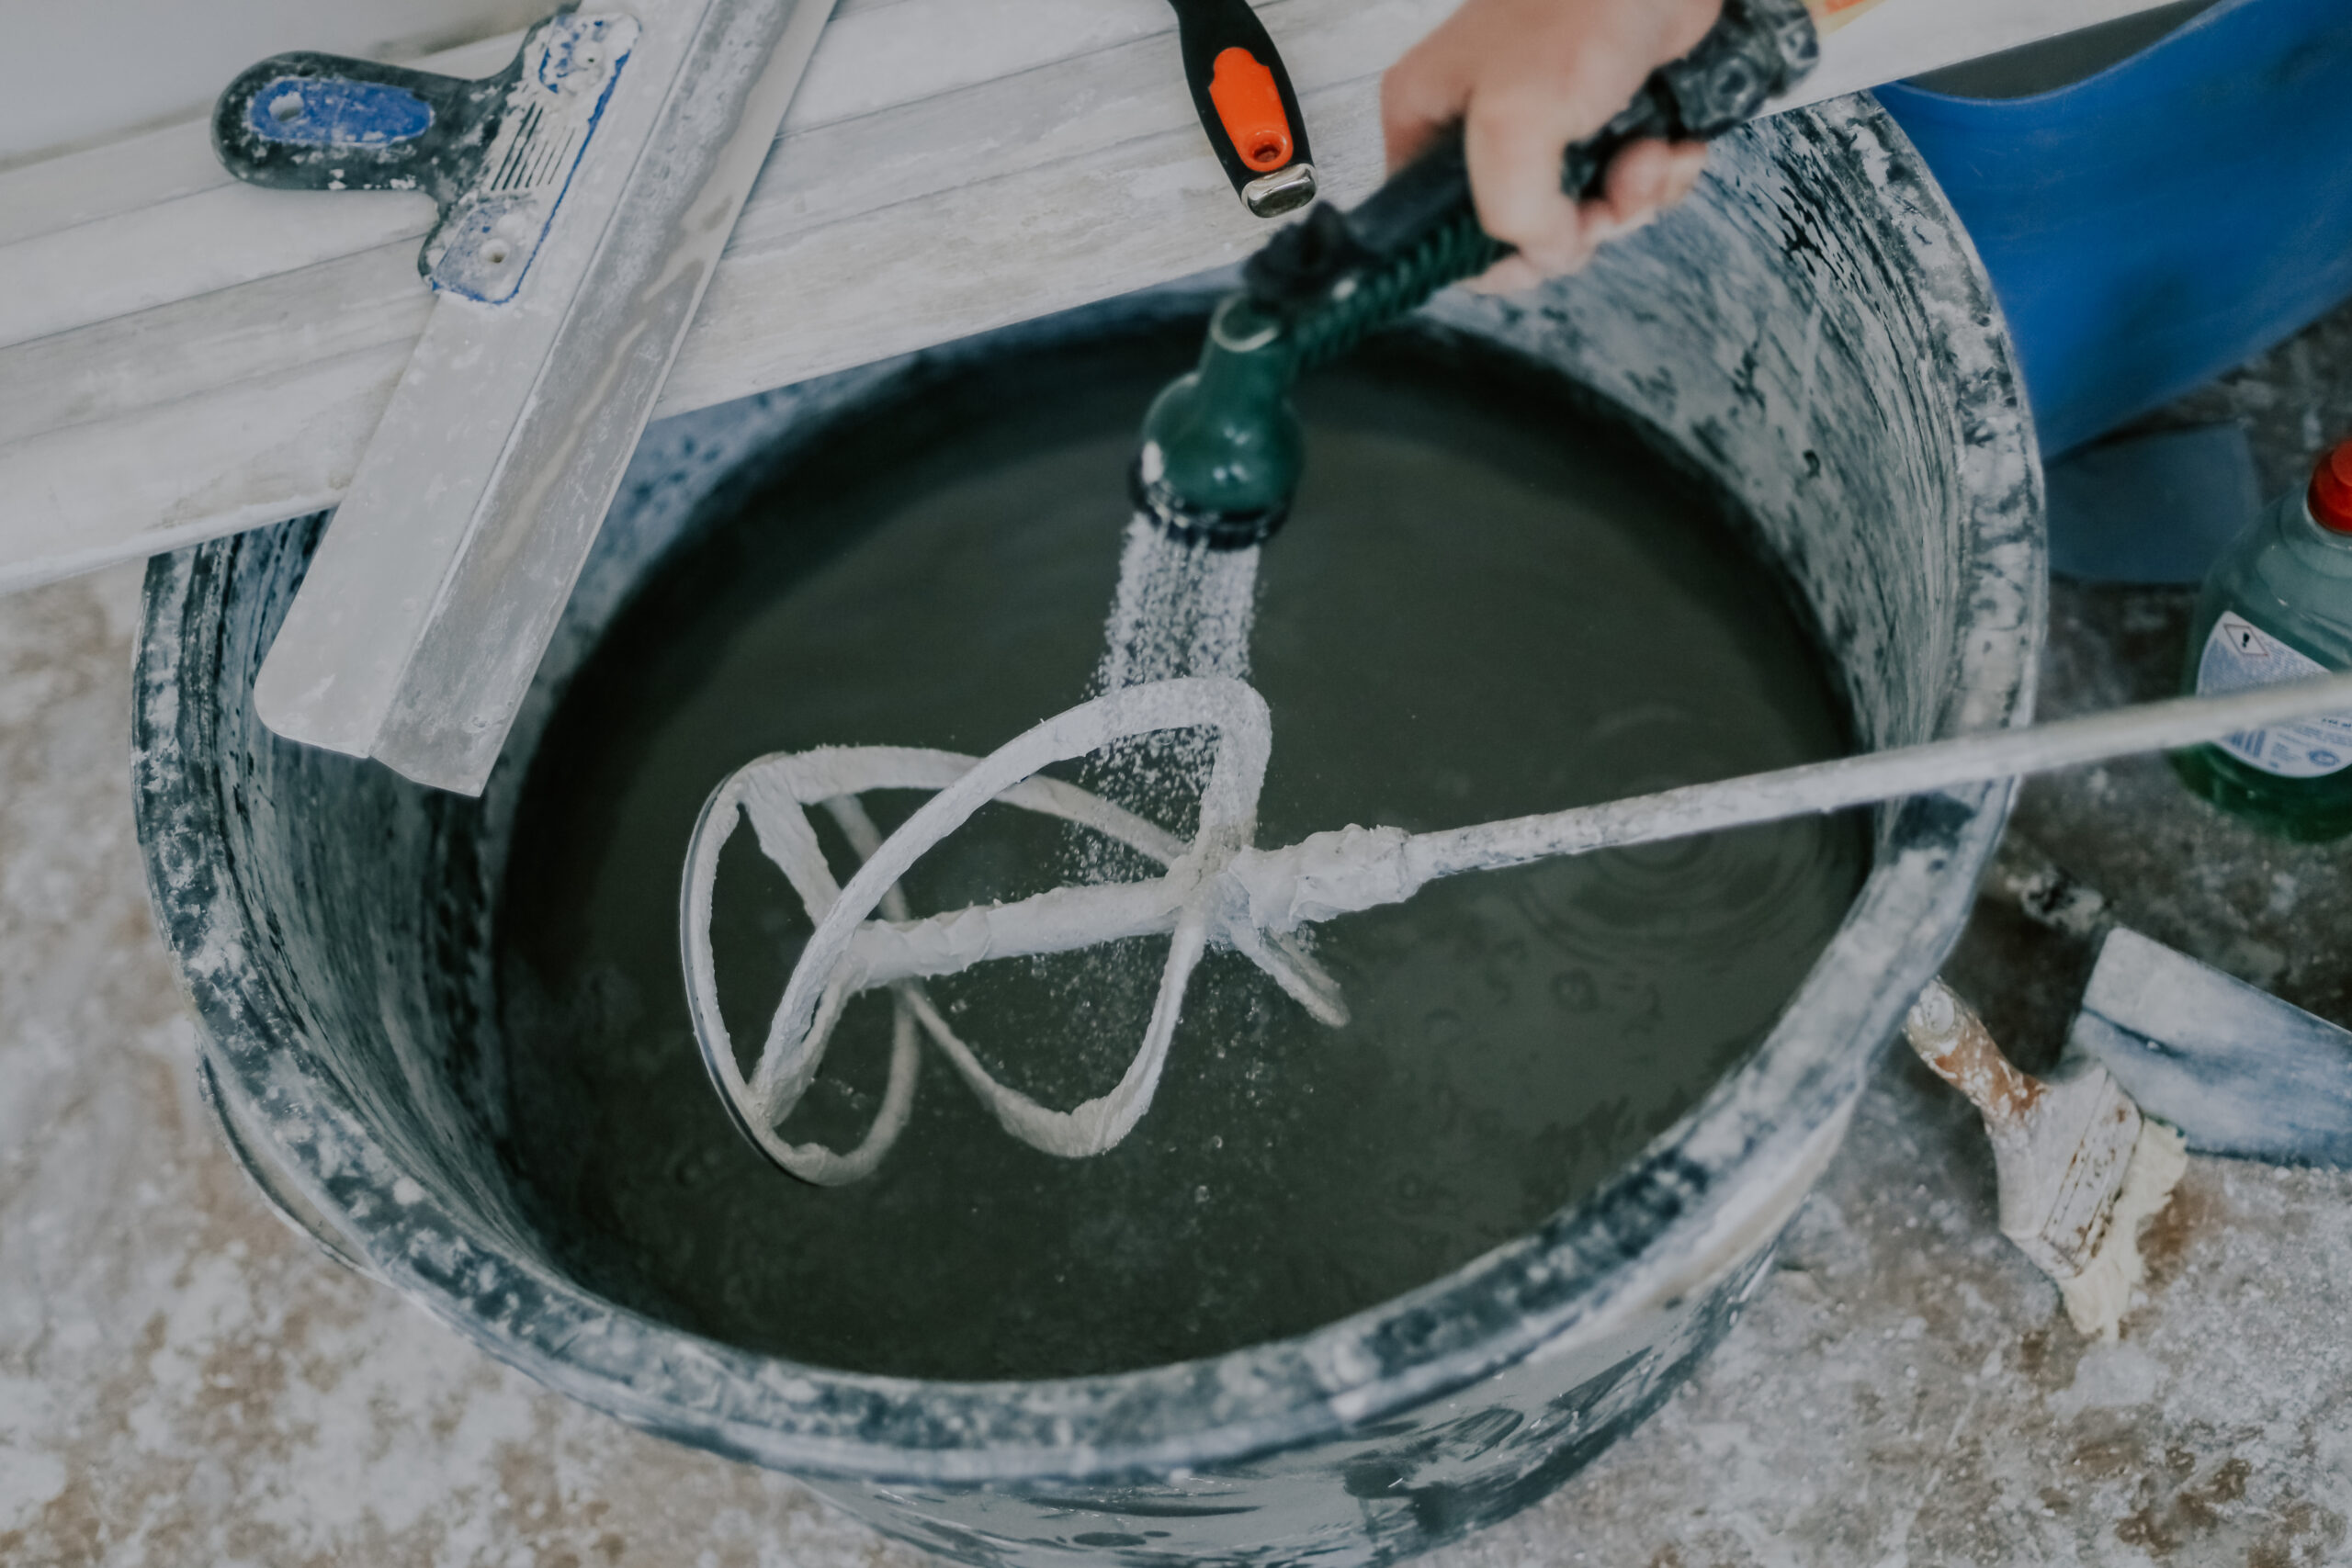
Aim for a smooth blend without lumps or dry patches. The ideal consistency is firm enough to hold shape on a trowel but soft enough to spread easily on walls.
Use clean tools every time you mix. Dirty buckets or shovels can affect bonding over time by introducing contaminants like dust or dried mortar from past batches.
Avoid reusing old render that has started setting, it loses strength quickly after hydration begins.
Keep mixing until everything is fully combined and uniform in texture and color. Check for clumps of unmixed material; break them down completely before applying anything to surfaces.
Mix only what you can use within 30 minutes to prevent hardening inside your container or mixer.
Understanding How To mix render properly helps avoid cracks later on and supports long-term durability of wall finishes through better adhesion and reduced shrinkage during drying.
Never guess with ratios or skip blending steps, each part of this process contributes directly to how well the render performs under weather changes, impact, and wear over time.
Make sure your workspace stays clean during preparation so no foreign matter gets into your batch by mistake, which could weaken results once applied on-site.
Use Clean Tools And Water To Avoid Contamination
Contaminated tools or water can ruin a render mix before it even touches the wall. Buckets with leftover material, mixers with dried bits, or hoses that have been lying in mud all pose risks. These impurities can stop the mix from bonding well, leading to cracks or weak spots later.
Before mixing anything, rinse out buckets thoroughly. Check for old residue stuck at the bottom or sides. Even small amounts of hardened material can affect consistency. Use a scraper if needed to remove stubborn build-up. Mixers should be wiped clean after every use and stored in dry areas to avoid rust or dirt buildup.
Water quality also matters when learning how to mix render properly. Tap water is usually fine, but make sure it’s clear and free from debris. Never use water from ponds, puddles, or containers left open outside, these may contain oils, algae, or dirt that will interfere with setting time and strength.
If using hosepipes to fill buckets or mixers, flush them first to push out any stagnant water sitting inside the hose. This step prevents mold spores and grime from entering your batch without you noticing.
Avoid mixing near dusty areas like driveways or construction zones where airborne particles can settle into your bucket while mixing. Cover tools between uses if you’re working over several hours so they don’t collect dust while idle.
Keeping everything clean doesn’t take much time but makes a big difference in how well your render performs once applied. A reliable finish starts with simple habits like rinsing gear and checking water sources before each job begins.
Apply in Ideal Weather Conditions for Best Results
Weather plays a key role when applying render. If you want strong, lasting results, avoid working during extreme heat, cold, or wet conditions. High temperatures can cause the mix to dry too fast. This leads to cracks and weak spots later on. Cold days slow down curing and may stop it completely if frost sets in before the render hardens.
Rain is another problem. Moisture can wash away parts of the fresh coat or leave marks as it dries unevenly. Wet surfaces also prevent proper bonding between the wall and the render. For these reasons, always check local forecasts before starting your project.
Mild and dry weather offers better control over how the render sets. It allows enough time for spreading and smoothing without rushing. A steady temperature helps bind the materials together more effectively, which improves strength.
If you’re unsure about timing, early morning or late afternoon usually works best, especially during warmer months, when sun exposure is lower but humidity has not yet dropped sharply.
Protecting your surface also matters. Use covers or temporary barriers if there’s a chance of light rain or wind-blown debris while drying takes place. Make sure walls stay clean and shielded until fully cured.
Even with perfect mixing skills, ignoring climate factors will lead to poor finishes that won’t last long outdoors. Understanding how to mix render properly includes knowing when to apply it for solid outcomes that resist wear over time.
Planning around weather helps avoid delays and reduces waste from failed batches or rework later on. Keep tools ready but only begin once you’re confident that sky conditions support each stage of rendering, from application through drying, to ensure each layer bonds well without flaws caused by shifting moisture levels or sudden temperature drops during set time.
Achieving Durable Wall Finishes Starts with The Right Process
By following a strategic approach, you can ensure your render mix delivers both strength and longevity. Selecting the right materials is the foundation for success, while understanding how to mix render properly maximises durability and adhesion. Clean tools and uncontaminated water prevent weak spots, and applying the mix in suitable weather conditions helps avoid premature cracking or failure. Mastering these steps not only improves results but also reduces costly repairs down the line. With the right technique and attention to detail, your wall finishes will stand up to time and the elements with confidence.
Share This Story, Choose Your Platform!
About EJL Supplies

Table of Contents
Recent Posts

Ensuring Technical Excellence at Our Fassa Bortolo Tinting Centre
The relationship between a plastering contractor and their material supplier is built on a foundation of trust and technical reliability. In the high stakes world of external rendering, the quality of the finish is the ultimate [...]

Why Professionals Choose EJL Supplies for Topcoat Tinting Facilities
The modern construction industry moves at a relentless pace, leaving very little room for logistical delays or material shortages. For rendering contractors across the UK, the ability to source high-quality, coloured finishes quickly is often the [...]
