
Spotting a crack across a freshly finished wall is never fun. Whether it is a hairline split above a window or a wide gap running down a gable end, the first question is always the same: can I fix this myself, or is something more serious going on? The good news is that most cracked render repair jobs are very manageable once you know what caused the crack in the first place.
At EJL Supplies in Portsmouth we speak to plasterers, renderers and homeowners every day about exactly this. This guide walks you through why render cracks, how to tell a cosmetic crack from a structural one, and the steps for a repair that lasts, with no jargon and no hard sell.
Why Does Render Crack in the First Place?
Render is a hard, rigid coat applied over a wall that moves a little with temperature, moisture and time. When the render cannot cope with that movement, it cracks. Understanding the cause matters because if you fill a crack without dealing with the reason it appeared, it will usually come back.
The most common causes we see are:
- Drying too fast. Render applied in hot sun, wind or on a hot background loses water before it has cured properly, which leads to fine surface cracking, often called crazing.
- A mix that is too strong or too wet. Rich, sticky mixes shrink more as they dry. A weaker, well-graded mix is far more forgiving.
- Applying too thickly in one go. Heavy single coats shrink and slump. Thinner, well-keyed coats are stronger.
- Movement in the building. Settlement, lintel movement or thermal expansion can open cracks, usually at weak points such as corners of windows and doors.
- Water getting in. Once water gets behind render, freezing and thawing can push it off the wall and crack it from behind.
- No beads or movement joints. Long, uninterrupted runs of render need expansion joints, and corners and openings need the right beads to take the strain.
Is It a Cosmetic Crack or Something Serious?
Before you buy anything, take a close look at the crack. A simple test is to see how wide it is. Hairline cracks, thinner than a credit card edge, are normally cosmetic. They look untidy and can let a little water in, but they rarely point to anything structural.
Wider cracks need more thought. If a crack is wider than about a couple of millimetres, runs diagonally from a corner, is wider at one end than the other, or keeps growing, it may be linked to movement in the wall itself. In that case, get a surveyor or structural engineer to look at it before you patch it up. Repairing the render will not cure a moving wall.
It is also worth tapping the area gently. If the render sounds hollow, it has lost its bond with the wall. Hollow patches should be cut out and redone rather than just filled over.
Common Types of Render Cracks and What They Mean
Not all cracks look the same, and the pattern can tell you a lot about the cause. Learning to read them will save you time and money, because you can match the repair to the problem rather than treating every crack in the same way.
Crazing and map cracking
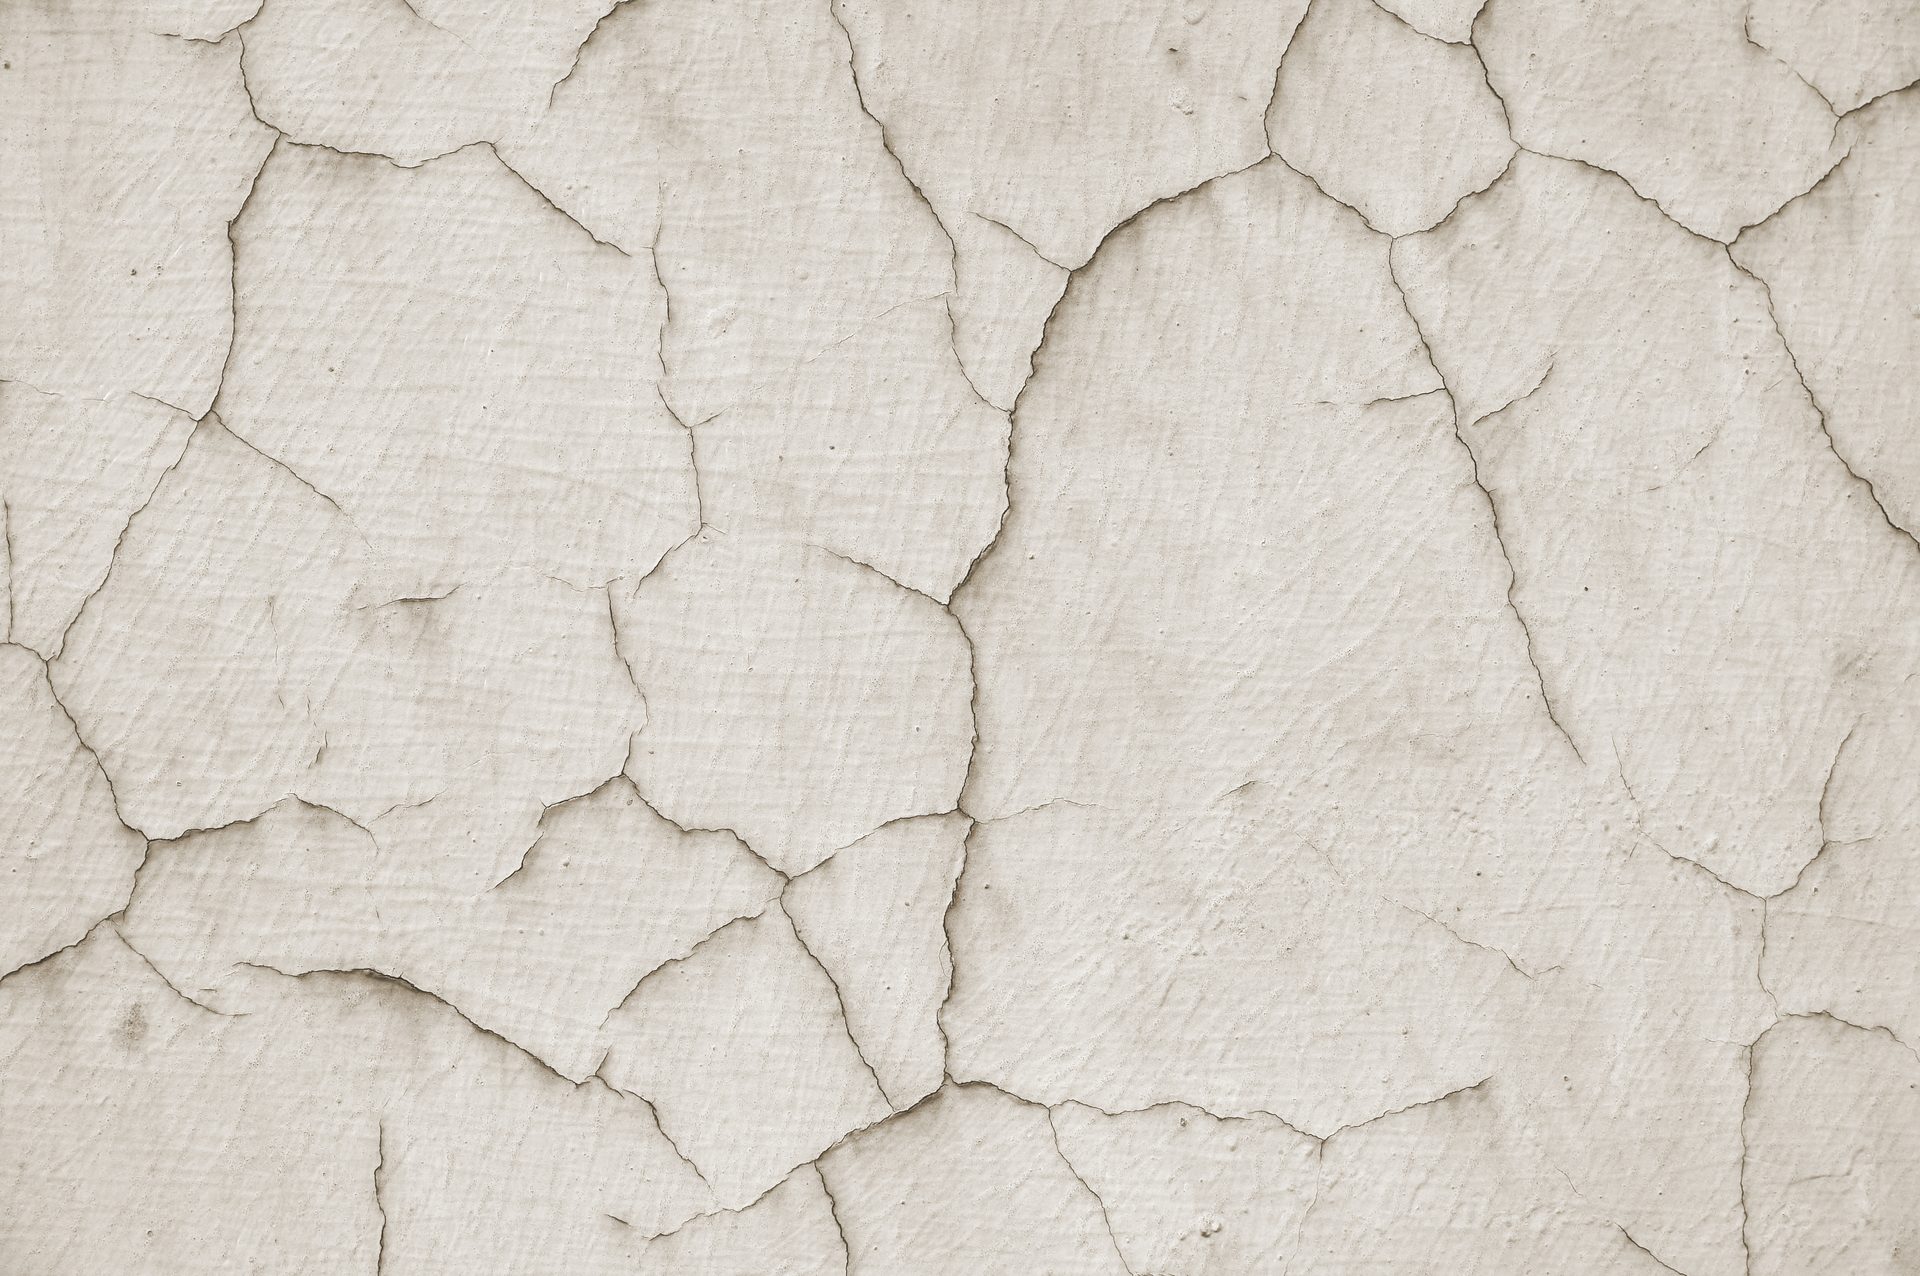
A fine web of shallow cracks across the surface usually means the render dried too quickly or the mix was too rich. These are almost always cosmetic. A thin skim of suitable repair material or a coat of flexible masonry paint normally deals with them.
Hairline cracks at window and door corners
Openings are natural weak spots because the render changes direction there and stress gathers at the corner. Cracks that run diagonally out from the corner are very common. Cut them out slightly, fill them, and consider fitting mesh across the corner if you are re-rendering the area.
Long horizontal or vertical cracks
A straight crack that runs a long way often follows a joint in the wall behind, such as where two different materials meet, or where one day’s work stopped and the next began. A movement joint is often the right answer here, rather than simply filling it solid.
Cracks with bulging or hollow render
If the render is lifting, bulging or sounds hollow, water has probably got behind it. This is where patching is not enough. Cut back to firm render, let the wall dry out, fix the source of the water, and re-render.
Tools and Materials for Cracked Render Repair
You do not need a van full of kit. For most cracked render repair jobs, you will need:
- A pointing trowel and a small hawk or board
- A wire brush and a stiff brush for cleaning out loose material
- A bolster or small chisel to open up the crack
- A suitable flexible filler or repair mortar for the crack width
- Bonding agent or primer where the old surface is dusty or very absorbent
- A sponge or float to match the existing finish
- Matching topcoat or paint to finish
The right products depend on the type of render on your wall. If you are not sure whether you have a cement-based, acrylic or silicone finish, pop into the shop or call us and we will help you identify it. Using the wrong repair material is one of the quickest ways to end up with a patch that cracks again within a year.
How to Do a Cracked Render Repair, Step by Step
Here is the process we recommend for a typical crack in cement-based render. For other finishes the principle is the same, but the materials will differ.
1. Clean out the crack
Use a wire brush and a bolster to remove any loose or crumbling render. Open hairline cracks slightly with the edge of a trowel or a scraper so the filler has something to grip. Brush out the dust thoroughly, and vacuum it if you can.
2. Dampen or prime the area
Dry, absorbent render will suck the moisture out of your repair mortar and weaken it. Lightly dampen the area with a brush or a spray, or use the bonding agent recommended for your product. Do not soak it. You want it damp, not dripping.
3. Fill the crack
For fine cracks, a flexible masonry filler or fine repair mortar works well. For wider ones, press in repair mortar in thin layers, allowing each to firm up before adding the next. Always overfill very slightly, because most materials shrink a touch as they cure.
4. Match the finish
While the repair is still workable, use a float or sponge to blend it into the surrounding texture. Matching a scraped, sponged or rough-cast finish takes a little practice, so try a test patch somewhere out of sight first.
5. Protect it while it cures
Keep the repair out of strong sun, wind and rain. In summer, a light mist of water or a damp hessian cloth stops it drying too fast. In cold weather, avoid working if frost is forecast.
6. Finish with paint or topcoat
Once the repair has fully cured, finish the area with a topcoat or masonry paint. If your wall was coloured in the mix, you may need a tinted topcoat to blend the patch in, and our in-store tinting service can match the colour for you.
When to Cut Out and Re-Render Instead
Filling works for cracks. It does not work for failure. If large areas sound hollow, if the render is blown off the wall, or if you see damp patches and staining around the damage, it is better to cut back to a sound edge and re-render that section properly. A neat square cut with a clean edge gives you a strong, stable patch.
When you re-render, build the coats up thinly and let each one firm up before the next. Where possible, fit the correct beads and stop beads, and think about adding a movement joint in a long run. If you want to refresh your knowledge of the basics, our guide on plastering vs rendering explains how the two differ and which materials suit which job.
Should You Repair It Yourself or Call a Professional?
Small, stable cracks are a sensible DIY job if you are comfortable on a ladder and patient with a trowel. The materials for a small render repair are not expensive and the technique is easy to pick up. Take your time, work in good weather, and do a test patch first.
Bring in a professional renderer when the area is large or high up, when the finish is a specialist one such as a through-coloured or silicone system, or when you suspect damp or movement. A good tradesperson will diagnose the cause before touching the wall, and that is what you are really paying for. Many of the plasterers and renderers we supply will happily advise on the right product, and we are glad to point you in the right direction.
Whichever route you choose for cracked render repair, remember that a lasting repair is about preparation. Cleaning out the crack, preparing the background and choosing the correct material take more time than the filling itself, and they are what stops you doing the same job again next year.
How to Stop Render Cracking Again
Prevention is a lot cheaper than any render repair. A few simple habits will make a big difference to how long your finish lasts:
- Use the manufacturer’s recommended mix, and measure it rather than guessing.
- Do not overwork the surface or add extra water to make it easier to spread.
- Apply in the right conditions: not in direct sun, strong wind or frost.
- Keep the thickness within the recommended range and use a scratch coat for key.
- Fit beads at corners and openings, and use movement joints on long walls.
- Keep gutters, downpipes and flashings in good order so water does not run down the face of the wall.
It also helps to start with good materials. Cheap or mismatched products are a false economy. If you are looking for a reliable local source, have a look at our page on where to buy quality rendering materials in Portsmouth, and if you are planning a whole new project, you may find our advice on buying rendering materials near you useful too.
Frequently Asked Questions About Render Cracks
Can I just paint over a cracked render?
Paint alone will not hold a crack closed, and a rigid paint film will usually split again. Fill the crack properly first, then paint. A flexible, breathable masonry paint helps the repair last.
How long should a repair take to dry?
It depends on the product, the thickness and the weather. As a rough guide, allow at least a few days before painting, and longer in cold or damp weather. Always check the data sheet for the product you are using.
Will the crack come back?
If the cause was drying too quickly or a poor mix, a careful repair should last for years. If the wall is still moving, the crack is likely to return, and you should get the building checked.
Need Help With Your Repair?
Every wall is a little different, and the right repair material depends on what is already there. If you are not sure what to use, get in touch with the team and we will talk it through with you, or pop into the shop and show us a photo. You can also head back to our home page to browse our full range of plastering and rendering supplies. We are always happy to help you get your render repair done properly the first time.
Share This Story, Choose Your Platform!
About EJL Supplies

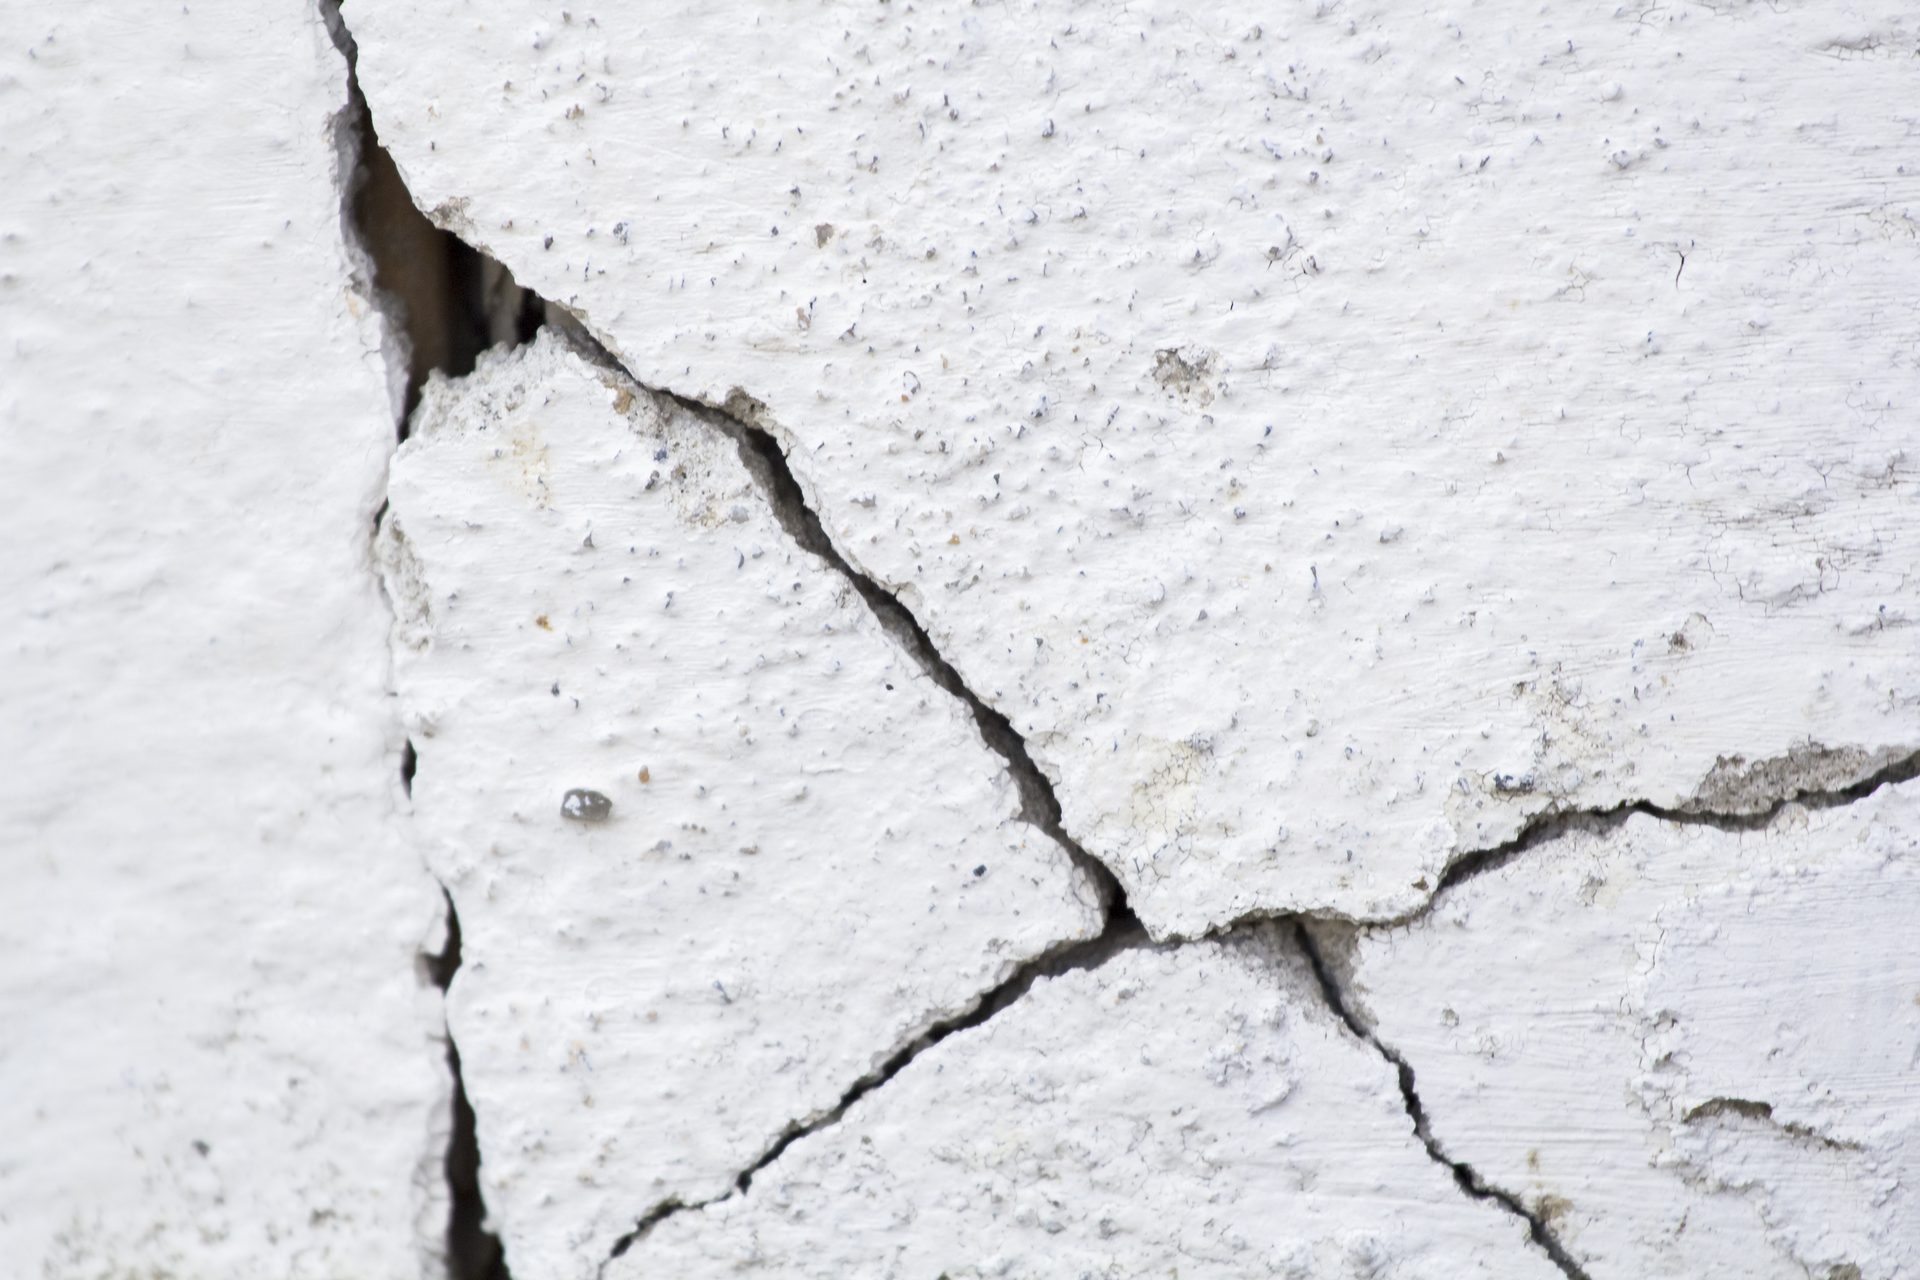
Table of Contents
Recent Posts
Cracked Render Repair: How to Fix Cracks and Stop Them Coming Back
Spotting a crack across a freshly finished wall is never fun. Whether it is a hairline split above a window or a wide gap running down a gable end, the first question is always the same: [...]

Choosing the Right Coloured Render: In-Store Jub and Fassa Bortolo Tinting
Getting the colour right is one of the most important decisions on any rendering project, and one of the easiest to get wrong. Order the wrong shade, or wait weeks for a factory-tinted batch to arrive, [...]
Jub Coloured Render Portsmouth: Sourcing High-Performance Systems
The construction and renovation market across Hampshire has seen a massive shift toward modern, low-maintenance exterior finishes. Homeowners and commercial developers are increasingly moving away from traditional masonry paints that require regular refreshing, opting instead for [...]